Creating a Cloud Chamber
In order to get good in photoshop, you need to experiment in ways never done before. You need to step outside of the computer and use something other then that awesome grunge brush with that killer 3d effects combined with that wild font. Photoshop boils down to good art, nice photography, and a modicum of technical skills. The technical side is not the challenge, and it's upsetting how much focus people have on learning all the tricks of photoshop when they could be dedicating their time to improving their design, photography, and drawing skills.
Everything you need to learn in photoshop you can learn in a day. That's no empty statement. I made a full time living for nearly a year teaching a one day intensive course where I did exactly that - taught complete newbs the program in a day. It was a tiring day, but by the end they knew it. The technical side needs to stop being obsessed over.
With that said, this is a photoshop tutorial in the sense that this is exactly the variety of experimenting needed to make any image in photoshop work. You probably won't work with cloud chambers, but it's applying this same technique to ink splatters, fun textures, and anything and everything else.
I'm pretty sure the term for what I played around with is cloud chamber. I'll leave it to someone else to do the research. Instead, I'll spend my time sharing the fun I had making these photos with you.
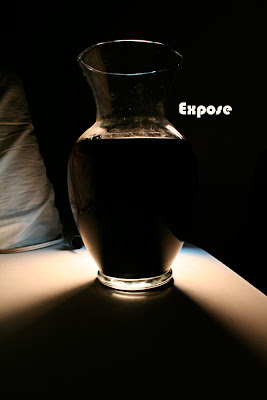
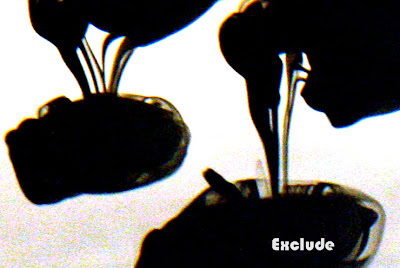
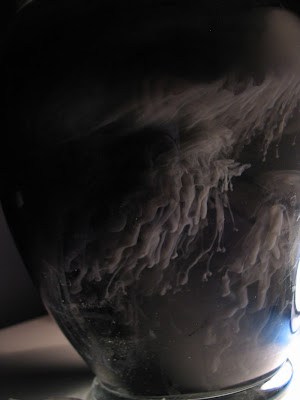
Here's the finished images, as seen in the Ink Drop Photography post:
When painting, I cleaned off an ink brush by dipping it inside of a clear bin of water. I watched it go, fascinated, and decided I needed to do something with this image. I tried photographing it, only to realize it happened too fast, and better lights were needed. I took out my bed reading lamp and another similar spotlight I own. Experimenting, I used different lights and moved from a glass tomato jar to a plastic laffy taffy jug to a perfect glass vase. There was only about 20 seconds after dropping the ink in before it was no longer interesting, so I had to fill up the water and drop in the ink again and again. Before going into the step by step of what I did-here's a video showing the progression of tries. It's 38 seconds, but 13 megs, so I suggest letting it load while you read the rest.
38 Seconds of Brilliance:
Download Ink Drops (By far the greatest part of this tutorial. I promise you'll love it.)
Photographing the Sucker:
In order to the focus the camera, I had to put something where the ink would be, because once the ink started coming out I had 20 seconds to shoot so it was too late to mess with focusing. I put my hand in the water to focus in before each take. Later I used a pen, when I got sick of getting my hand wet.
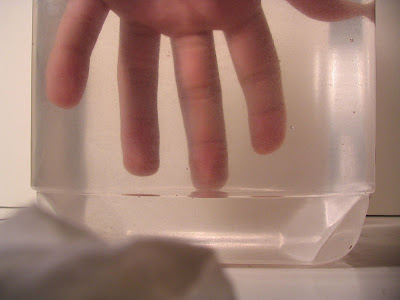
The first pass I deleted. The second pass (in a tomato jar) I got this blurry mess. For every pass I'd drop a drop or two of ink into the water. The ink is from a standard Higgins Black India Ink that you can find at any art store. I normally use it for drawing with a nib.
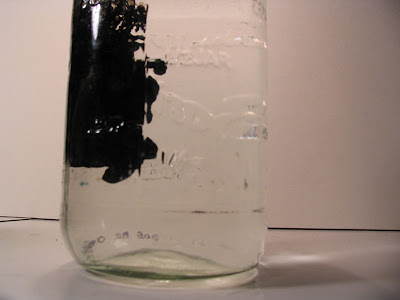 So I moved to the Laffy Taffy container (a large clear plastic tub) and got this:
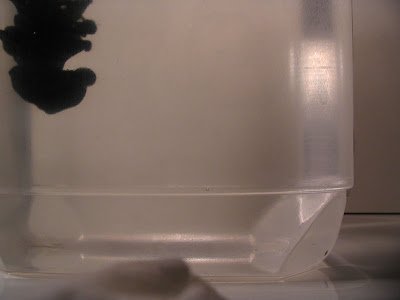 This was better, but the plastic blurred everything too much.
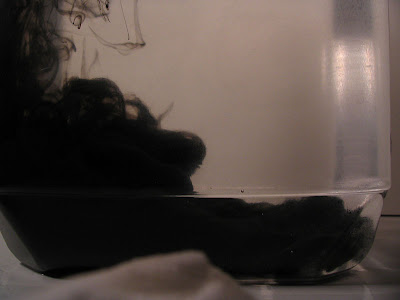 I remembered I had a glass vase, which short of a fishbowl, is exactly what I needed. I propped the two lights in a primary and secondary light fashion, put a white board behind the vase, fixed the focus, and got this, by far the best one yet:
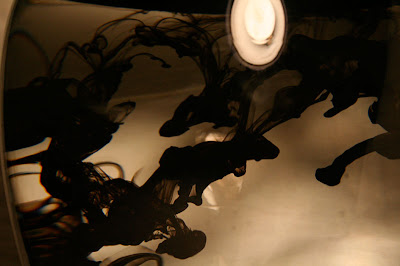
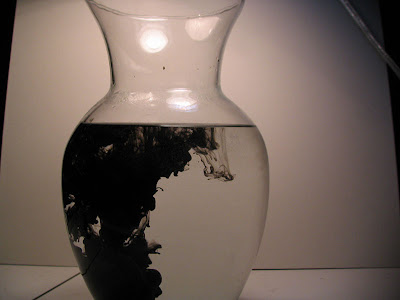 Also, I realized after the ink fills the water it's still floating around and if the light's shifted exactly right some fun cave-like effects can be seen. To get these, the exposure was left at over a second. I rested the camera on the table so no camera shake happened.
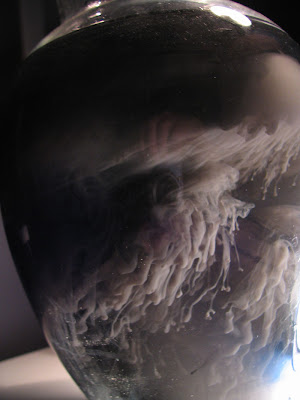
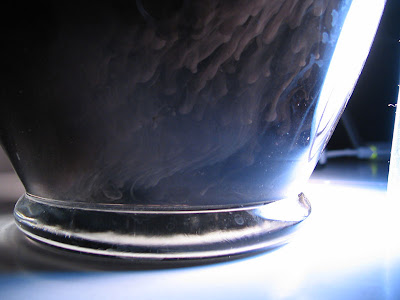 Here's another go, this time lit with only a single light. I realized two lights were muddling the image.
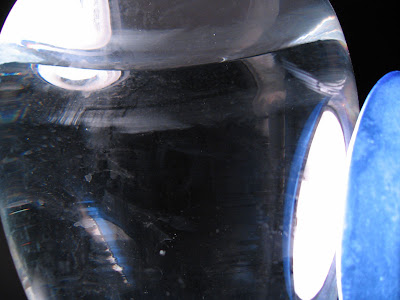
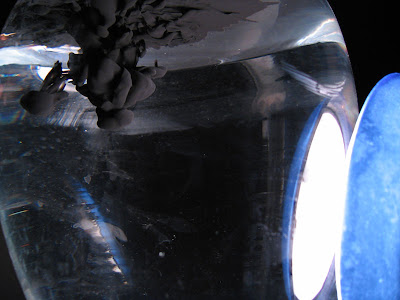

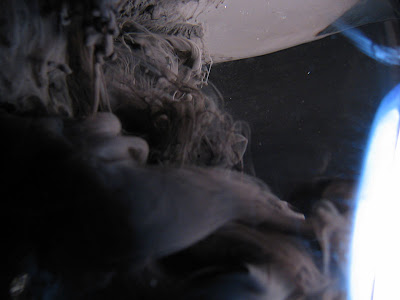 Clearly a successful run, leaving with a lot of fun images to play with. Below is the cave like stage of the ink moving.
 All of these photographs were taken with longer exposures. Trying it with a flash is an exercise in failure as demonstrated with this image:
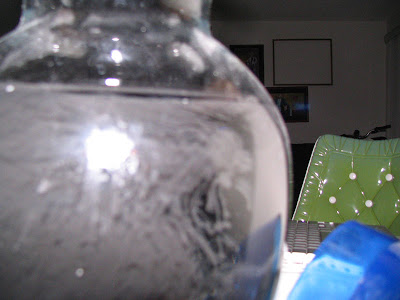 Here's a take with an exposure so long, it's picking up things that were completely black to the human eye:
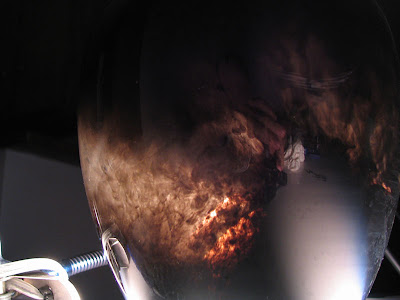 In another take I set it up with white in the background. These are fun in their own way:
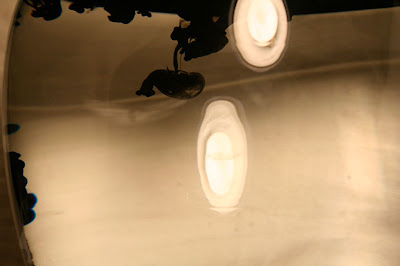
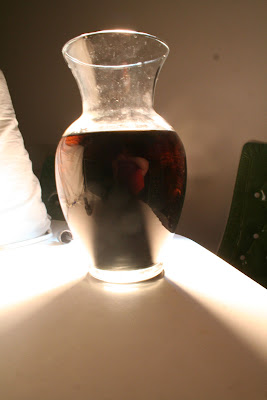 To get the white background I set my pillow sans case behind it and lit accordingly.
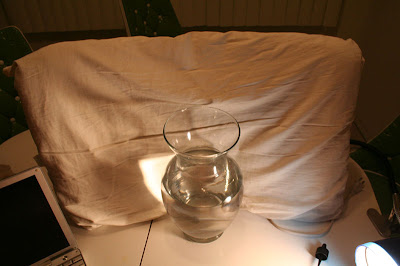

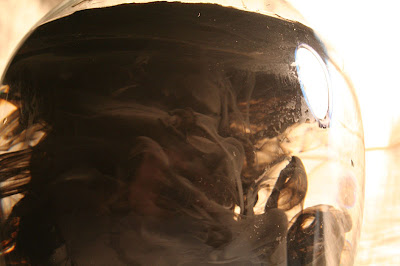 If you're still confused how these photographs were taken, that's probably because you skipped the video. Go watch it. It's fun.
Finishing Touches in Photoshop:
The last step involved taking them into Photoshop, cropping them, messing ever so slightly with the colors, sharpening them, and adding in the text.
For those curious, I sharpened by way of duplicating the layer, setting the duplicated layer on 'Overlay,' applying the 'High Pass' filter found in Filter>Other>High Pass, and erasing out parts of the top layer that I didn't want with an eraser with a soft edge.
The font is Bauhaus 93.
The Experiment picture involved taking multiple versions of the falling ink, setting them on top of each other, and setting the layer mode to 'Difference.' I'd put the full breakdown, but I doubt there's much of a demand for that. (Correct me in comments if I'm wrong)
The point of this tutorial isn't to show the cloud chamber technique, or even the images themselves-it's to push the idea of getting outside of the computer when creating images in Photoshop, even when they're abstract.
Total time taken:3 nights. One for the first shoot. One for the second shoot with a borrowed SLR camera and editing all the images. One to write this tutorial.
I plan to experiment with this technique more (multicolor inks? Better lighting? Larger Water Basin? Directed ink shot? Better idea for finished images? Experimenting with intended output of video rather then still? Who knows.) For now, I'm happy with this start in playing with this.


